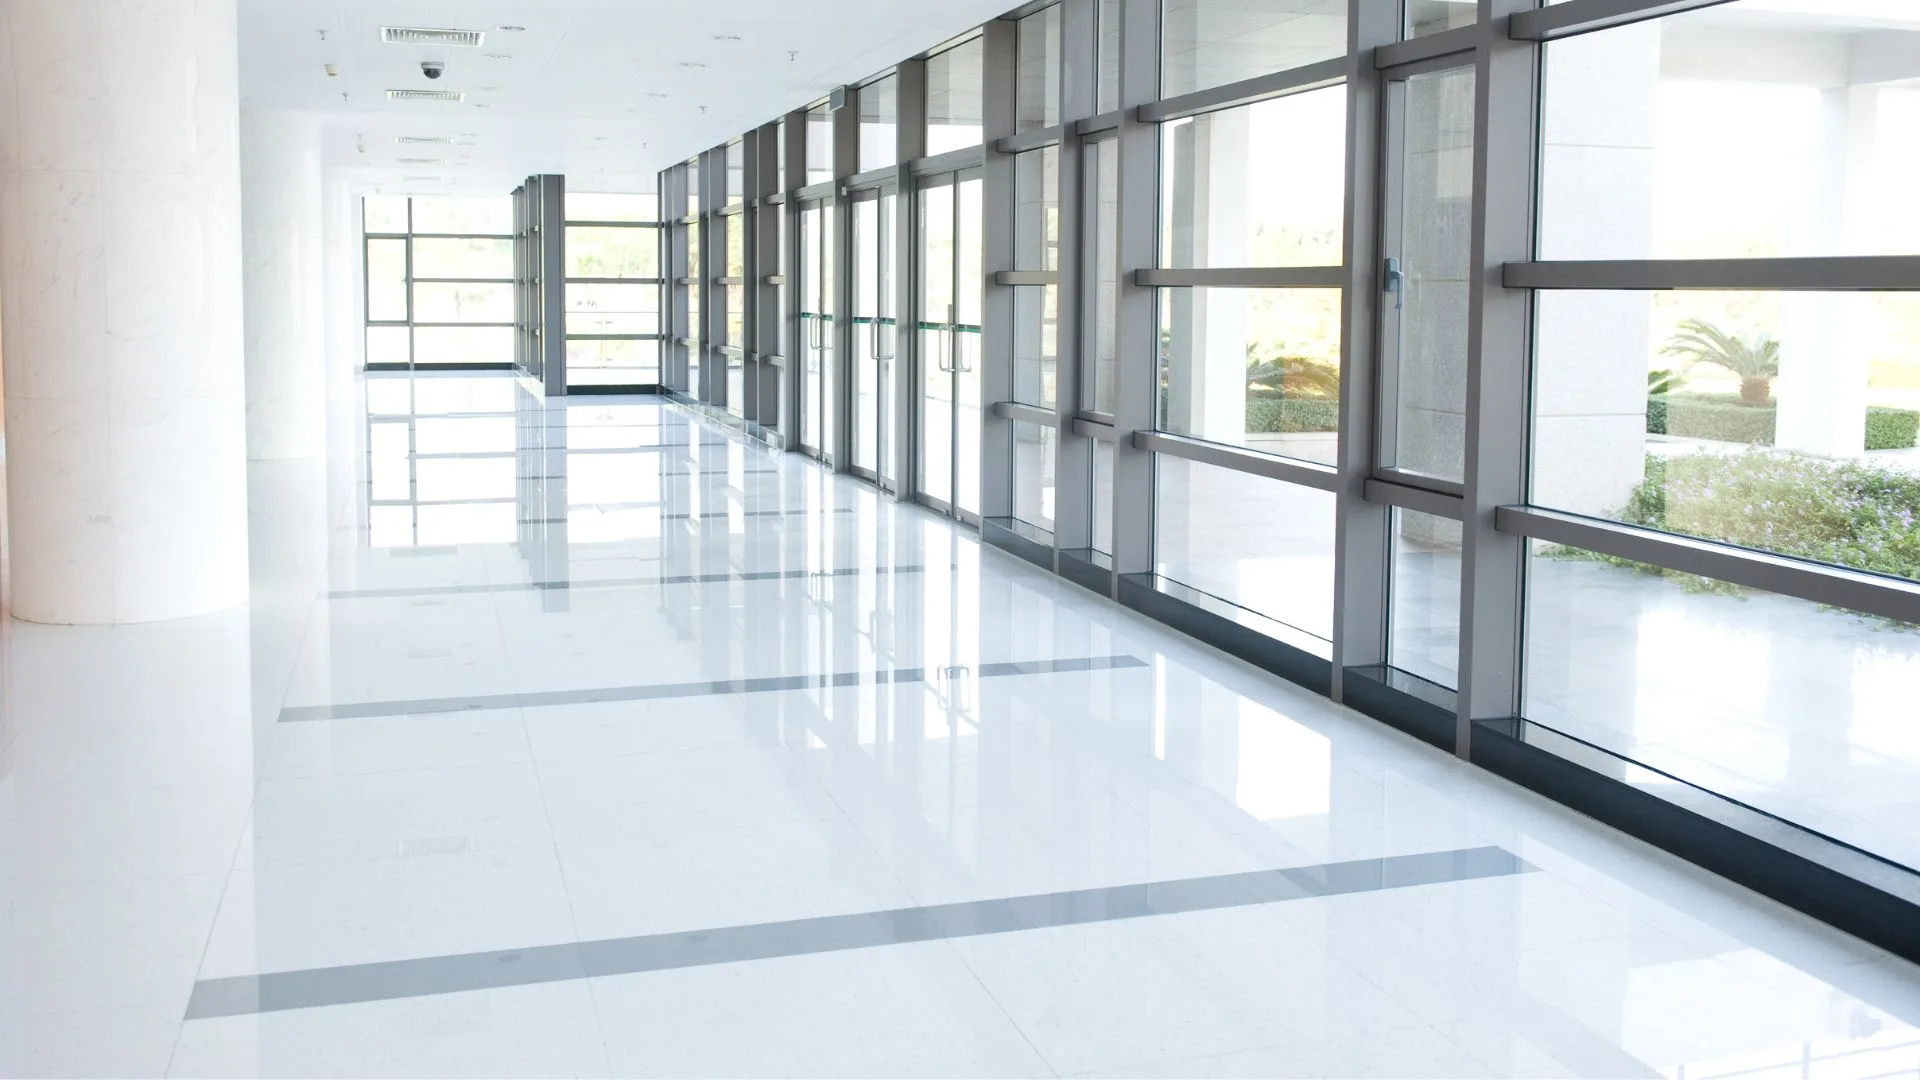
Substrate Prep: The Step That Decides How Long a Commercial Floor Lasts
When a commercial floor fails early, the spec sheet usually isn't where the problem started. We've been called in to look at premature edge curl on LVT, telegraphing seams in welded sheet vinyl, debonded epoxy in service bays, and hairline cracking under polished concrete — and in nearly every case, the post-mortem traces back to what happened underneath the floor, not the floor itself. The material was fine. The substrate wasn't.
Substrate prep is the most underestimated line item on a commercial flooring project. It's the work that disappears under the finish, so it's the first thing value-engineered when a budget gets tight, and the first thing skipped when a schedule slips. That's also why it's the work that decides whether a facility manager is making another call in three years or twenty. Coast Floors has been installing commercial flooring across California since 1986, and the pattern doesn't change — the jobs that hold up are the jobs where the slab was right before we ever opened a box of product.
Moisture is the failure mode you can't see
Concrete looks dry long before it actually is. New slabs typically need 60 to 90 days to reach equilibrium, and on a tight TI schedule that window almost never exists. Even on existing slabs, moisture migrates — a slab that read fine in October can fail an RH test in March after winter ground saturation. We test every commercial floor we install, regardless of slab age, because that's the only data point that actually predicts how the finish will behave once the building is occupied and conditioned.
The two standards that matter are ASTM F2170 and ASTM F1869. F2170 is the in-situ relative humidity probe method — we drill to 40% of slab depth on a slab drying from one side, set sleeves, let them equilibrate for 24 hours, then read internal RH. It's the test most adhesive and resilient manufacturers reference in their warranty documentation. F1869 is the calcium chloride MVER test, measured in pounds of moisture per 1,000 sq ft per 24 hours. It only reads the top half-inch of slab, which makes it less reliable on its own — but it's still called for in older spec packages and some coatings systems, so we run both when the submittal demands it.
Acceptable readings depend on what's going down. Most sheet vinyl tops out around 80% RH and 5 lbs MVER. LVT typically runs 75% to 85% RH depending on adhesive system, with some moisture-tolerant urethane adhesives pushing 90%. Two-component epoxy systems vary widely — some standard self-priming epoxies want under 75% RH, while vapor-mitigating systems are rated up to 100%. The point isn't the specific number, it's that the number has to come from a real test, and it has to be read against the manufacturer's published limit for that exact product. We've seen jobs where the GC accepted a "feels dry" walkthrough and the floor delaminated inside a year. The remediation cost more than ten years of prep would have.
When readings come back over limit, the options are wait, install a moisture mitigation system, or change the floor spec to a more tolerant product. On occupied-building work — a healthcare TI or a retail refit where the storefront has a hard reopen date — waiting isn't real. Mitigation usually is. A two-coat moisture-vapor barrier adds days, not weeks, and brings most slabs into spec for whatever finish is going over the top.
Flatness tolerances are not optional, they're contractual
Flatness gets brushed off as a feel thing. It isn't. ASTM F710 — the standard practice for preparing concrete to receive resilient flooring — calls for 3/16" in 10' for most resilient goods. Manufacturers of large-format LVT and rigid-core SPC often tighten that to 1/8" in 10', because their planks don't flex enough to absorb high spots. Large-format tile commonly runs 1/4" in 10' for tile up to 15", and tightens to 1/8" in 10' for anything larger. Sheet rubber and welded sheet vinyl want the slab dead flat — every divot telegraphs through.
How we measure it matters. A 10-foot straightedge gives you F-numbers on a localized basis, but it doesn't catch slow waves across a long run. On larger projects we use F-numbers (F<sub>F</sub> for flatness, F<sub>L</sub> for levelness) per ASTM E1155, and on critical retail or showroom-grade work we'll grid the slab and map it before we order material. When a slab is out, the question becomes which way it's out — high spots get ground, low spots get filled, and broad-pattern variation usually wants a self-leveling underlayment.
The reason this is contractual: most commercial flooring warranties explicitly void if the substrate exceeds the manufacturer's flatness spec. A facility manager looking at a five-year claim doesn't get to argue about whether 1/4" felt close enough. The submittal said 3/16" and the slab read 5/16", so the manufacturer walks. That's the conversation we don't want any of our clients to have, which is why we'd rather argue about prep scope in week one than warranty coverage in year four.
Concrete Surface Profile — the texture you can't see until you specify it
CSP is the roughness of the prepped concrete surface, defined by ICRI Guideline 310.2 on a scale of 1 to 10. CSP 1 is a baby-smooth acid-etch finish; CSP 10 is heavy scarification with deep, exposed aggregate. The right CSP for a given job depends entirely on what's bonding to it.
Thin-mil coatings — penetrating sealers, light-duty acrylics — want CSP 2 to 3. Standard two-component epoxies and most resilient flooring adhesives bond best on CSP 3 to 4. High-build epoxy and urethane systems, the kind we install in automotive dealership service bays, want CSP 4 to 5. Self-leveling urethane mortars and thick-build polymer systems can demand CSP 5 or 6. Get this wrong and the most expensive material on your spec sheet has nothing real to grip.
The mistake we see most often is a GC running a single shotblast pass across an entire slab — back-of-house, finished spaces, service drives, washbays — and assuming one profile fits everything. It doesn't. We prep zone by zone, matching CSP to the finish that's going down in that zone, and we keep ICRI comparator chips on site to verify before we hand the slab over to the install crew.
Choosing the mechanical prep method
There are three common ways to mechanically prepare a concrete substrate, and they aren't interchangeable. Picking the wrong one wastes money on one end and creates rework on the other.
Diamond grinding is the workhorse. It removes thin coatings, glue residue, paint, and surface laitance, and delivers CSP 1 to 3 depending on segment hardness. It's the right call for resilient flooring prep, for light-duty coating systems, and for any space where dust control and finish quality matter. With proper HEPA-shrouded equipment and an OSHA Table 1-compliant dust extraction setup, we can grind in occupied buildings without shutting down adjacent suites — which is most of what commercial interiors and TI work demands.
Shotblasting throws steel shot at the slab and recovers it magnetically. It's faster than grinding over large open areas, leaves a clean, uniform profile in the CSP 3 to 5 range, and is the standard prep for high-build epoxy, urethane, and most thick-mil coating systems. Where it doesn't work: tight quarters, around columns and corners, near sensitive equipment, and in occupied spaces where the noise profile is unacceptable. Shotblast can't get within a few inches of a wall, so we always combine it with edge grinding.
Scarifying — sometimes called milling — uses tungsten-carbide cutters to aggressively remove material. It leaves a CSP 5 to 9 depending on cutter spacing, and it's the right tool for removing thick coatings, leveling significant high spots, or prepping for self-leveling urethane mortars in heavy industrial settings. It's loud, it's destructive, and it usually requires follow-up grinding to smooth the texture for finish work. We rarely scarify a whole project — we scarify zones.
There's also chemical etching, which still shows up in older specs. Acid etching is not a real substitute for mechanical prep. It doesn't open the surface tension consistently, leaves residue, and is a liability in occupied buildings. We refuse it on commercial work.
Patching and leveling — knowing when to skim, when to flood
Once moisture is acceptable and the slab is mechanically profiled, the next decision is how to address surface defects: cracks, spalls, divots, control joint fills, and broad flatness variation. The category of patch matters as much as the brand.
Trowel-applied portland-based patches are the right tool for spot repairs, control joint fills, and localized leveling. They set fast, take traffic quickly, and let us turn a slab around in a single shift. The limit is application thickness — most are rated for feather-edge to about 1/2" in a single pass, and pushing them deeper invites cracking and debond.
Cement-based self-leveling underlayments are the right tool for broad-pattern flatness correction across rooms and corridors. We pour them at 1/8" minimum up to about 1.5" depending on product, and they self-level to a finish flat enough for the tightest resilient flooring specs. They require primer on porous concrete, they require ambient and slab temperature control, and they require a moisture barrier underneath if RH readings are over the SLU's rated limit. A self-leveler poured over a wet slab is just a more expensive way to fail.
Calcium aluminate and gypsum-based levelers exist for specific applications — calcium aluminates for permanent moisture environments, gypsum levelers for residential wood subfloors (which we don't see on commercial work). Picking the right category is more important than picking the right brand inside a category.
The decision tree on a real project usually looks like this: assess flatness, decide whether the variation is local (spot patch) or broad (SLU), verify moisture readings against the leveler's spec sheet, prime appropriately, pour, and dwell to manufacturer-stated working time. Skip steps and the floor above it pays for it.
Why GCs and facility managers should care before bid day
The argument for proper substrate prep gets made strongest at the bid stage, not after a failure. Three reasons it matters at the front end.
Warranties are written around substrate conformance. Every major commercial flooring manufacturer — resilient, ceramic, polished concrete, resinous — has language in their warranty that voids coverage if the substrate didn't meet their published spec at install. If the moisture test wasn't done, the flatness wasn't documented, or the CSP wasn't verified, the manufacturer's representative has every reason to walk when a claim comes in. We document everything: test results, ICRI comparator photos, moisture mitigation product batch numbers, SLU pour logs. That documentation is what makes a warranty actually collectible.
Callbacks are far more expensive than prep. A commercial floor failure in an occupied building means tearing out a finished surface, redoing the prep that should have happened the first time, reinstalling the material, and absorbing the operational cost — staff displacement, lost revenue days, dust and noise in occupied space. We've inherited remediation jobs where the original install was a fraction of the eventual rebuild cost, and the rebuild was happening because someone skipped a $0-line-item moisture test. Frame it as risk-adjusted cost and prep is the cheapest insurance on the project.
Occupied-building scope blows up when prep is underspec'd. This is the one that bites mid-job. A spec calls for a moisture-tolerant adhesive, the GC assumes that means no testing required, the floor gets installed, and three months in the tenant reports edge lift. Now there's a remediation in an occupied space, on the tenant's calendar, with the original installer either unavailable or unwilling. We've been pulled into more than one healthcare TI rescue where the building couldn't shut down, the original contractor was off the job, and the only path forward was working around active operations for weeks longer than a properly prepped install would have taken from day one. Healthcare flooring does not forgive shortcuts.
A dealership in Orange County
A few years back we were called for a service-bay refit at a dealership in OC. The existing floor was a worn high-build epoxy that had been installed, by another contractor, over what turned out to be a slab with chronic moisture issues — the building sat on the back side of a ridge with constant groundwater migration. The epoxy had blistered, debonded in patches, and the dealership was losing service capacity to the closed-off bays.
We pulled F2170 readings across the bay zones and got numbers ranging from 88% to 96% RH. The original installer had used a standard self-priming epoxy rated for 75% RH. There had never been a real chance the floor was going to hold. We specified a two-coat moisture-vapor barrier system, shotblasted to CSP 4, ran the mitigation, recoated with a urethane-modified high-build, and walked away from a floor that's still in service. The prep package was the difference between a 3-year failure and a 15+ year service life. The dealership's facility manager has called us for three subsequent buildings since.
A healthcare TI in LA County
A different shape of the same lesson: a healthcare TI in Los Angeles on an occupied floor. Spec was welded sheet vinyl in corridors, hospital-grade rubber in patient rooms, and seamless urethane in soiled utility. Schedule was nights and weekends only — no patient impact allowed. The slab was 1970s vintage, never had a vapor barrier under it, and the existing finish was a 30-year-old VCT that was bonded with what we suspected was an asbestos mastic.
The prep scope was its own project. Abatement protocol for the VCT and mastic removal. RH testing showed the slab averaging 84% — too high for the welded sheet vinyl, fine for the rubber, borderline for the urethane. Flatness was all over the place, with sub-floor patching from decades of casework changes. We ran the abatement, ground the slab to CSP 3 across most zones and CSP 4 in the urethane zone, applied a single-coat MVB in the sheet-vinyl corridors, poured a self-leveler across the patient-room zones to bring flatness into spec, and installed each material to its own manufacturer's full submittal. Five years in, the corridors look the same as the install day. That floor exists because the prep scope was sized correctly at bid.
What a real substrate prep scope looks like in a submittal
If you're a GC or a facility manager spec'ing a commercial floor, here's what we want to see called out in the prep section of the submittal — and what we'll write into our own scope every time:
Moisture testing per ASTM F2170, conducted at a frequency of three probes per first 1,000 sq ft plus one additional per each 1,000 sq ft thereafter, with 24-hour equilibration before reading. F1869 calcium chloride supplemented when the manufacturer requires it.
Flatness verification to ASTM F710 or the manufacturer's tighter tolerance, documented with photos and straightedge or F-number readings.
Mechanical prep method specified by zone, with target CSP per ICRI 310.2 documented with comparator-chip photos before install.
Patch and self-leveler products named with manufacturer and batch, with priming and ambient/slab temperature parameters logged.
Moisture mitigation system, if required, specified with product, mil thickness, and warranty length. The MVB manufacturer's warranty should be assignable to the building owner.
A walkthrough sign-off from the GC and the flooring contractor before the finish goes down. This is the document that protects everyone if the floor needs to be looked at later.
The work that disappears is the work that lasts
Substrate prep isn't visible. It's not the finish a tenant photographs for the brochure, and it's not the line item that wins bids. But it's the line item that decides whether the building owner is paying for the same floor twice. A floor installed on a properly prepped slab will outlast its design life. A floor installed on a slab that wasn't ready will fail somewhere between year one and year four, and the cost to put it right will dwarf whatever was saved on prep.
The crews at Coast Floors prep every commercial floor we install to the same standard — whether it's a service drive at a dealership, a corridor in a hospital, or a retail refit on a tight schedule. That standard isn't unique to us; it's what the industry has been writing into ASTM and ICRI documents for forty years. The unusual thing isn't the standard. The unusual thing is the discipline to follow it every time, on every slab, even when the schedule is asking you not to. That's the part we're proud of, and that's the part that lasts.
Quick answers.
How long does a new concrete slab need to dry before commercial flooring can be installed?
Most new slabs need 60 to 90 days to reach equilibrium moisture content, but the only reliable answer comes from ASTM F2170 in-situ RH testing. Slab age alone doesn't determine readiness — building conditioning, ambient humidity, and groundwater conditions can keep a 6-month-old slab over an acceptable RH limit. Test, don't guess.
What's the difference between ASTM F2170 and ASTM F1869 moisture testing?
F2170 measures relative humidity inside the slab using sleeved probes drilled to 40% of slab depth — it's the more accurate predictor of total moisture and is the test most manufacturers reference in their warranties. F1869 measures surface moisture vapor emission rate (MVER) using calcium chloride and only reads the top half-inch of slab, which makes it less reliable on its own. Many specs still call for both.
Why does Concrete Surface Profile (CSP) matter for adhesives and coatings?
CSP determines how much mechanical grip a coating or adhesive has on the slab. Too smooth and the finish has nothing to bond to; too rough and thin-mil products telegraph or fail to bridge the texture. Each manufacturer publishes a target CSP range per ICRI 310.2 — installing outside that range typically voids the warranty even if every other prep step was correct.
Can chemical etching replace mechanical prep on commercial slabs?
No. Acid etching doesn't open the concrete surface tension uniformly, leaves residue that interferes with bond, and creates handling and disposal liabilities in occupied buildings. We won't accept etching as a substitute for grinding or shotblasting on any commercial project — every major adhesive and coating manufacturer has the same position.
Who is responsible for substrate moisture failures — the GC, the flooring contractor, or the manufacturer?
On a properly documented project, the answer is usually nobody, because failures get prevented at install. When they happen anyway, responsibility traces back to whoever signed off on a slab that didn't meet spec. That's why we document moisture tests, flatness readings, CSP verification, and mitigation product data — so the chain of responsibility is clear and the warranty is actually collectible.
Shawn is the third-generation owner of Coast Floors. He's spent 15+ years in the commercial flooring industry, taking over operations from his father in 2018. Shawn leads project planning and client relationships, with a focus on healthcare, hospitality, and high-end retail work — the projects where flooring spec and installation precision matter most.

Healthcare Flooring in Southern California: What's Different Here
Healthcare flooring in Southern California has its own rulebook — HCAI submittals, ICRA barriers, DCOF specs, and seismic detailing. Here's what we've learned.
Read article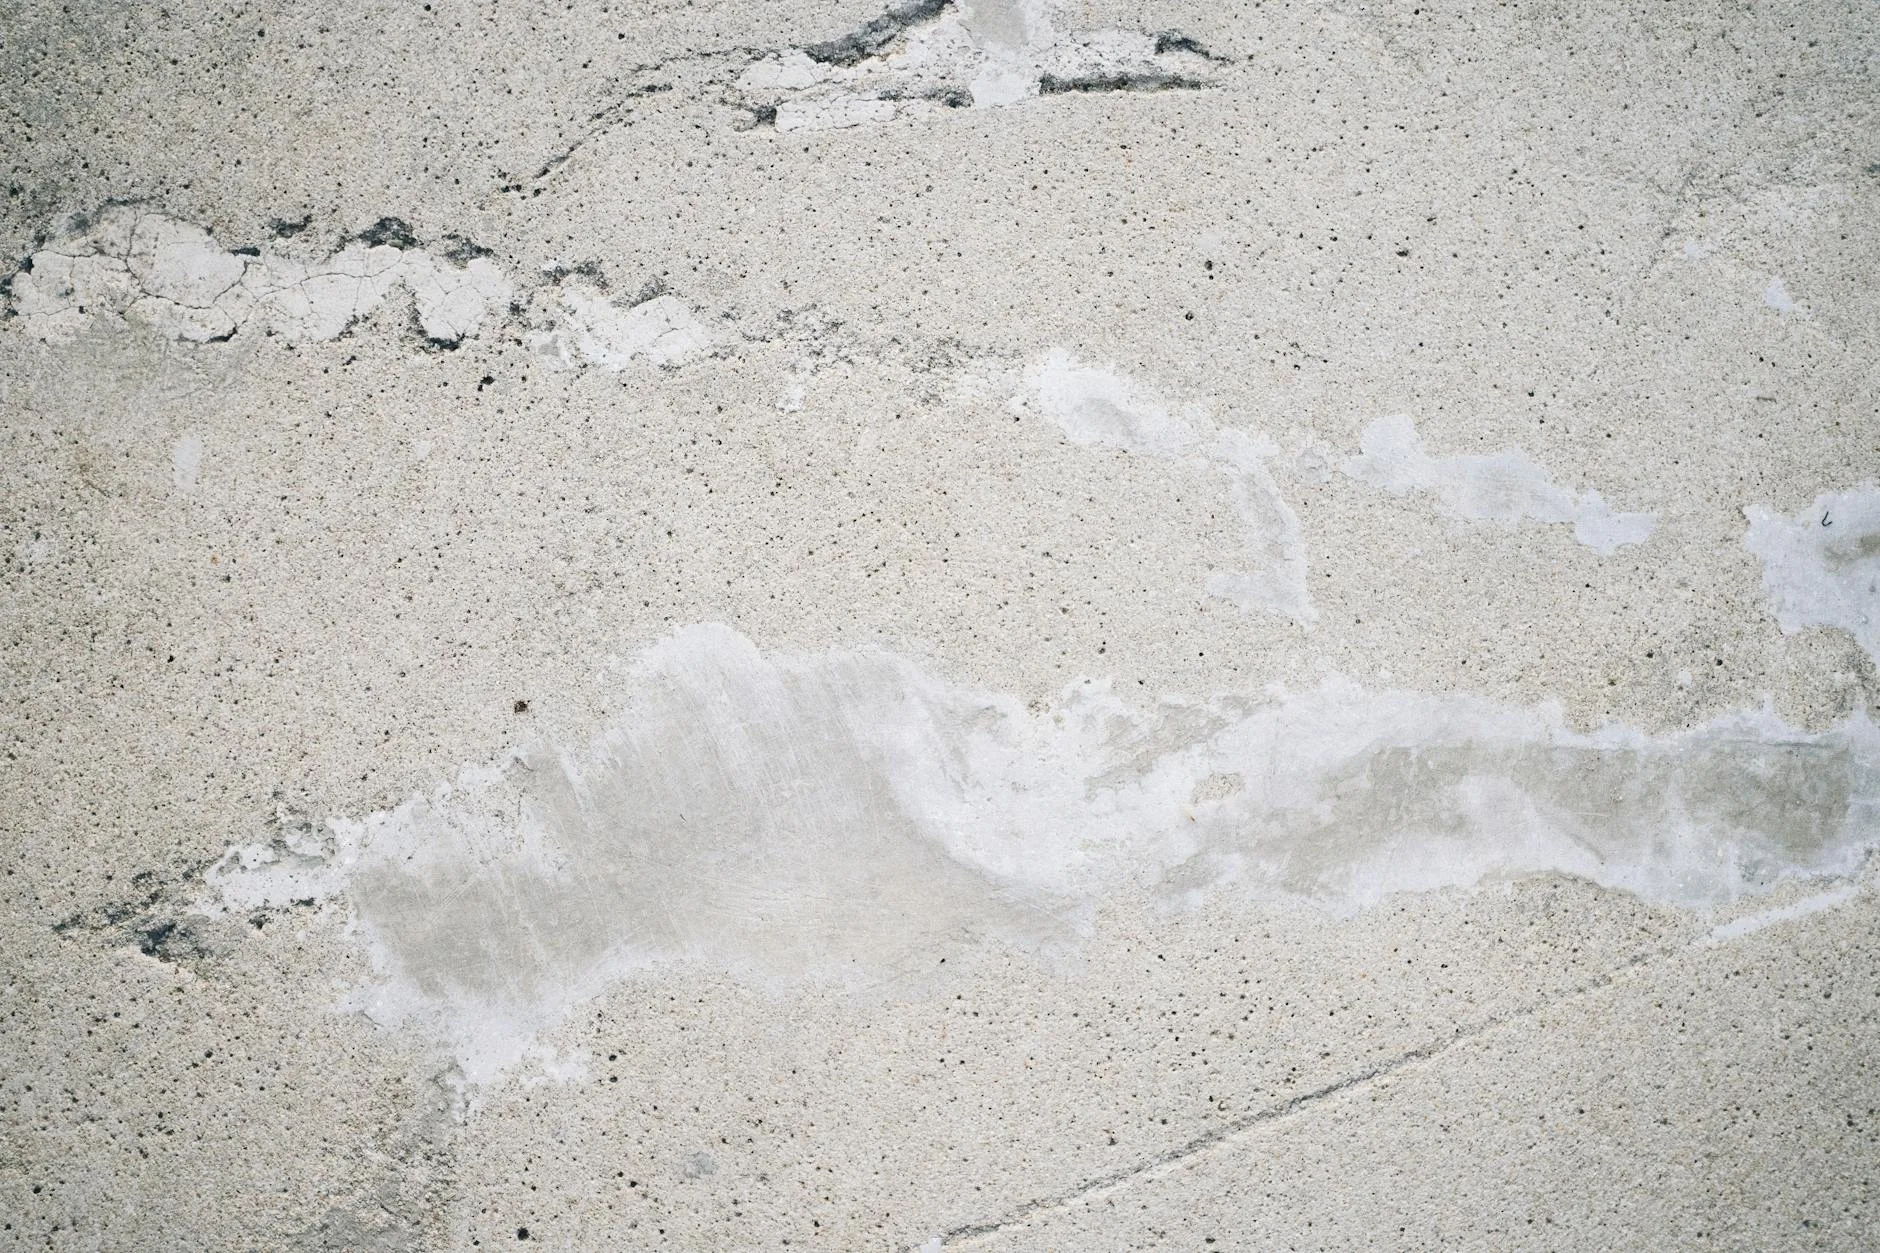
Why Commercial Floors Fail Early: 5 Causes We See on Site Visits
Why commercial flooring fails early, from a 3rd-generation crew. Moisture, prep, spec, joints, and chemistry — the trade-level diagnostics we run on site.
Read article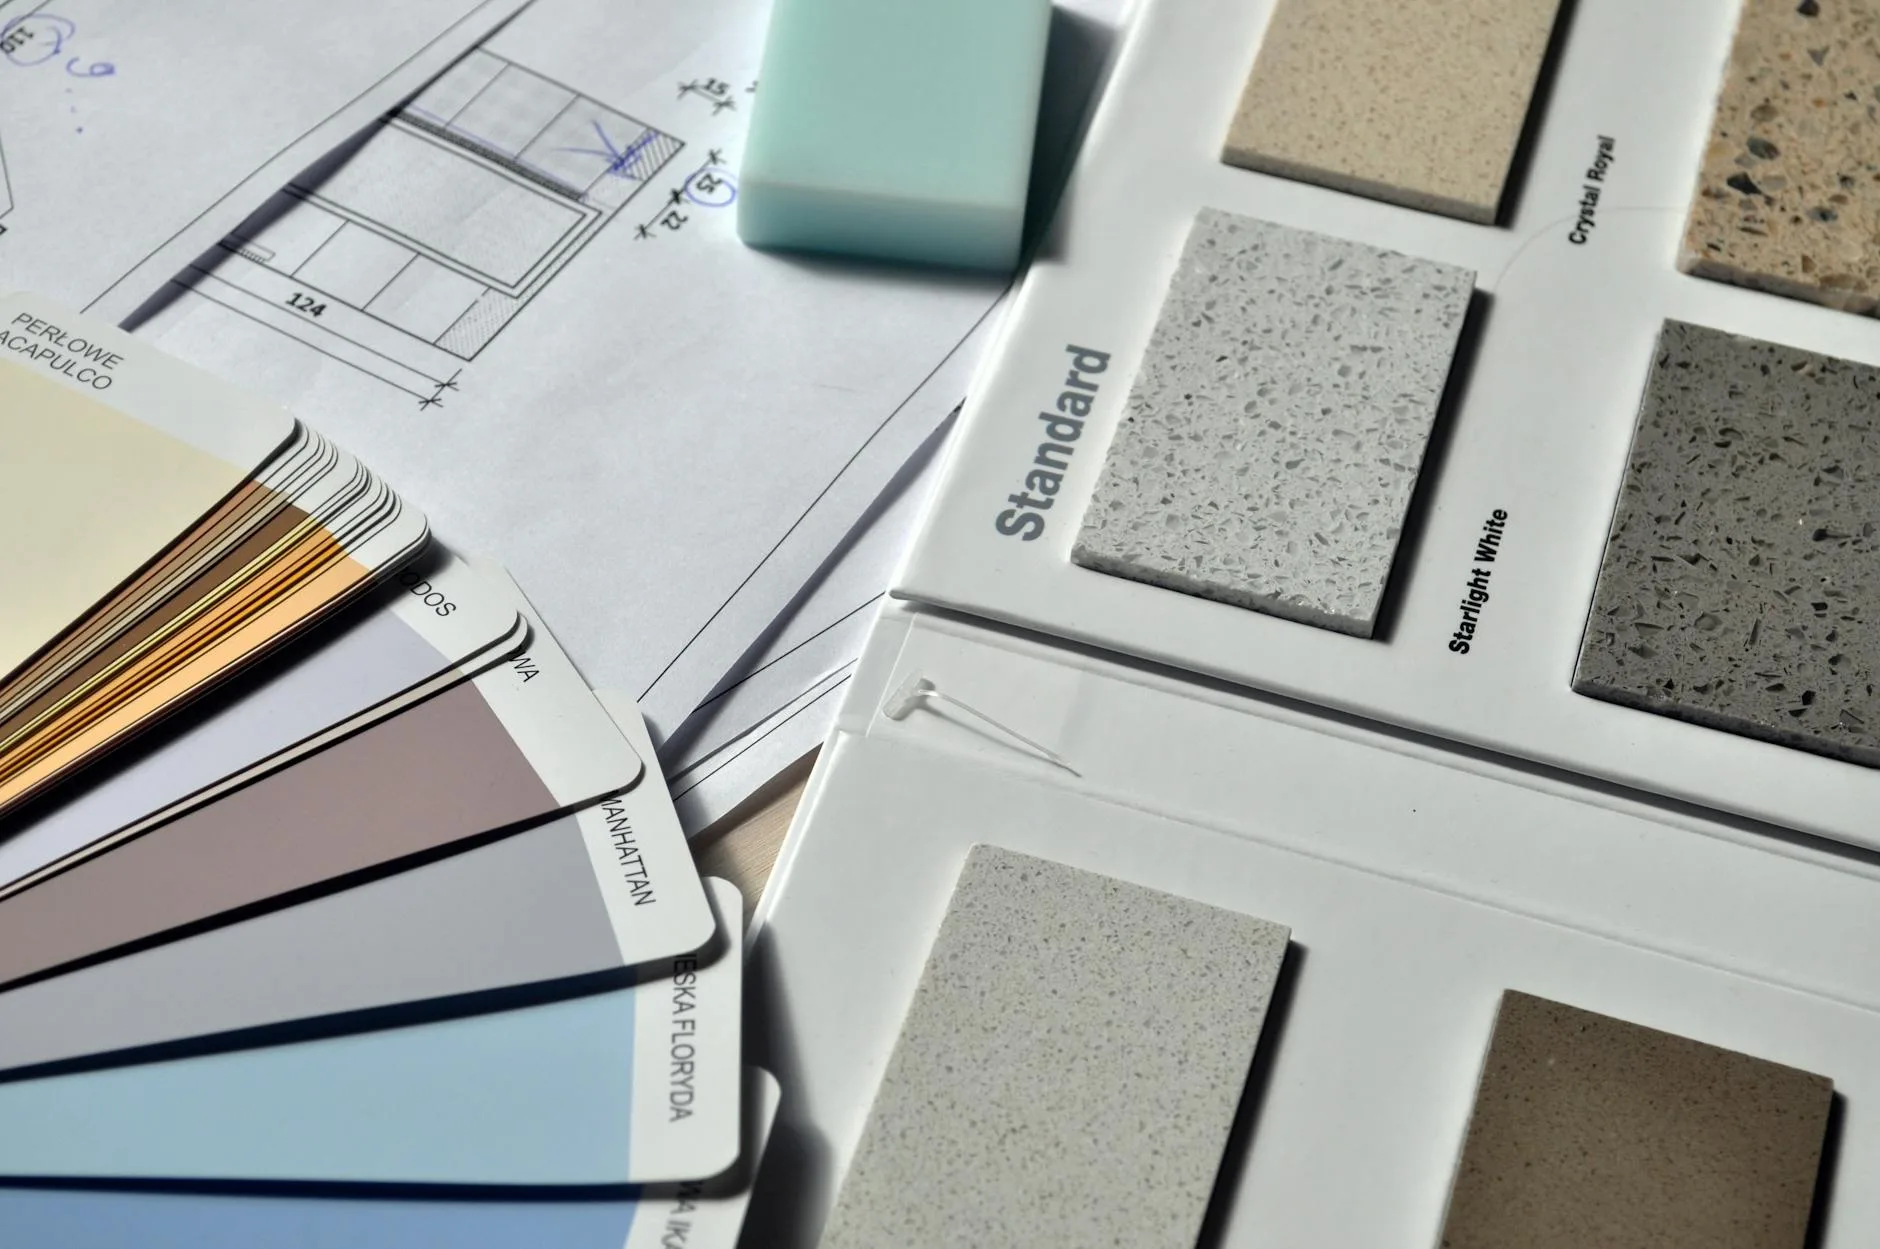
Commercial Flooring Materials Guide: What Goes Where, and Why
A senior installer's commercial flooring materials comparison — sheet vinyl, LVT, porcelain, polished concrete, terrazzo, carpet tile, epoxy. What goes where.
Read article